Food photography is the heart of any successful food blog. Stunning images not only capture your audience’s attention but also make your recipes irresistible. Whether you’re a beginner or looking to refine your skills, mastering food photography can take your blog to the next level. Here are essential tips to help you create mouthwatering images that stand out.
1. Use Natural Lighting for the Best Results
Lighting is the most critical element in food photography. Natural light, especially soft, diffused light, works best to highlight textures and colors without harsh shadows.
- Shoot near a window: Position your setup near a large window where indirect sunlight flows in. Avoid direct sunlight, which can create unflattering shadows.
- Use a reflector: A white foam board or reflector helps bounce light back onto your dish, reducing shadows on the opposite side.
- Golden hour magic: Early morning or late afternoon light adds warmth and depth to your photos.
If natural light isn’t available, invest in a softbox or LED light to mimic daylight.
2. Style Your Food for Visual Appeal
Food styling is about making your dish look as appetizing as possible. A well-styled plate tells a story and invites the viewer to take a bite.
- Keep it fresh: Use fresh ingredients as garnishes—herbs, sauces, or a sprinkle of spices add texture and color.
- Play with layers: Stack, drizzle, or arrange food in a way that creates dimension. For example, a burger looks more enticing when the layers are visible.
- Use props wisely: Simple, neutral backgrounds and complementary props (like cutlery or napkins) enhance the dish without distracting from it.
Remember, less is often more—overcrowding the frame can make the image look messy.
3. Master Composition and Angles
How you frame your shot can make or break your food photo. Experiment with different angles and compositions to find what works best for each dish.
Popular Food Photography Angles:
- Overhead (flat lay): Perfect for flat dishes like pizzas, salads, or breakfast spreads.
- 45-degree angle: A versatile angle that works for most dishes, showing depth and texture.
- Close-up: Ideal for highlighting details like melting cheese or a crispy crust.
Use the rule of thirds to create balance—place the main subject off-center for a more dynamic composition.
4. Edit Your Photos for a Polished Look
Editing enhances your photos by adjusting exposure, colors, and sharpness. A well-edited image looks professional and cohesive with your blog’s aesthetic.
- Adjust brightness and contrast: Ensure your photo isn’t too dark or washed out.
- Enhance colors: Boost saturation slightly to make food look vibrant, but avoid over-editing.
- Sharpen details: A light sharpen can make textures pop, especially for crispy or layered foods.
Free tools like Lightroom Mobile or Snapseed are great for beginners, while Adobe Lightroom and Photoshop offer advanced controls.
5. Tell a Story with Your Images
Great food photography goes beyond just the dish—it evokes emotions and tells a story. Capture the process, ingredients, or the final presentation to engage your audience.
- Show action shots: Pouring syrup on pancakes or slicing a cake adds movement and interest.
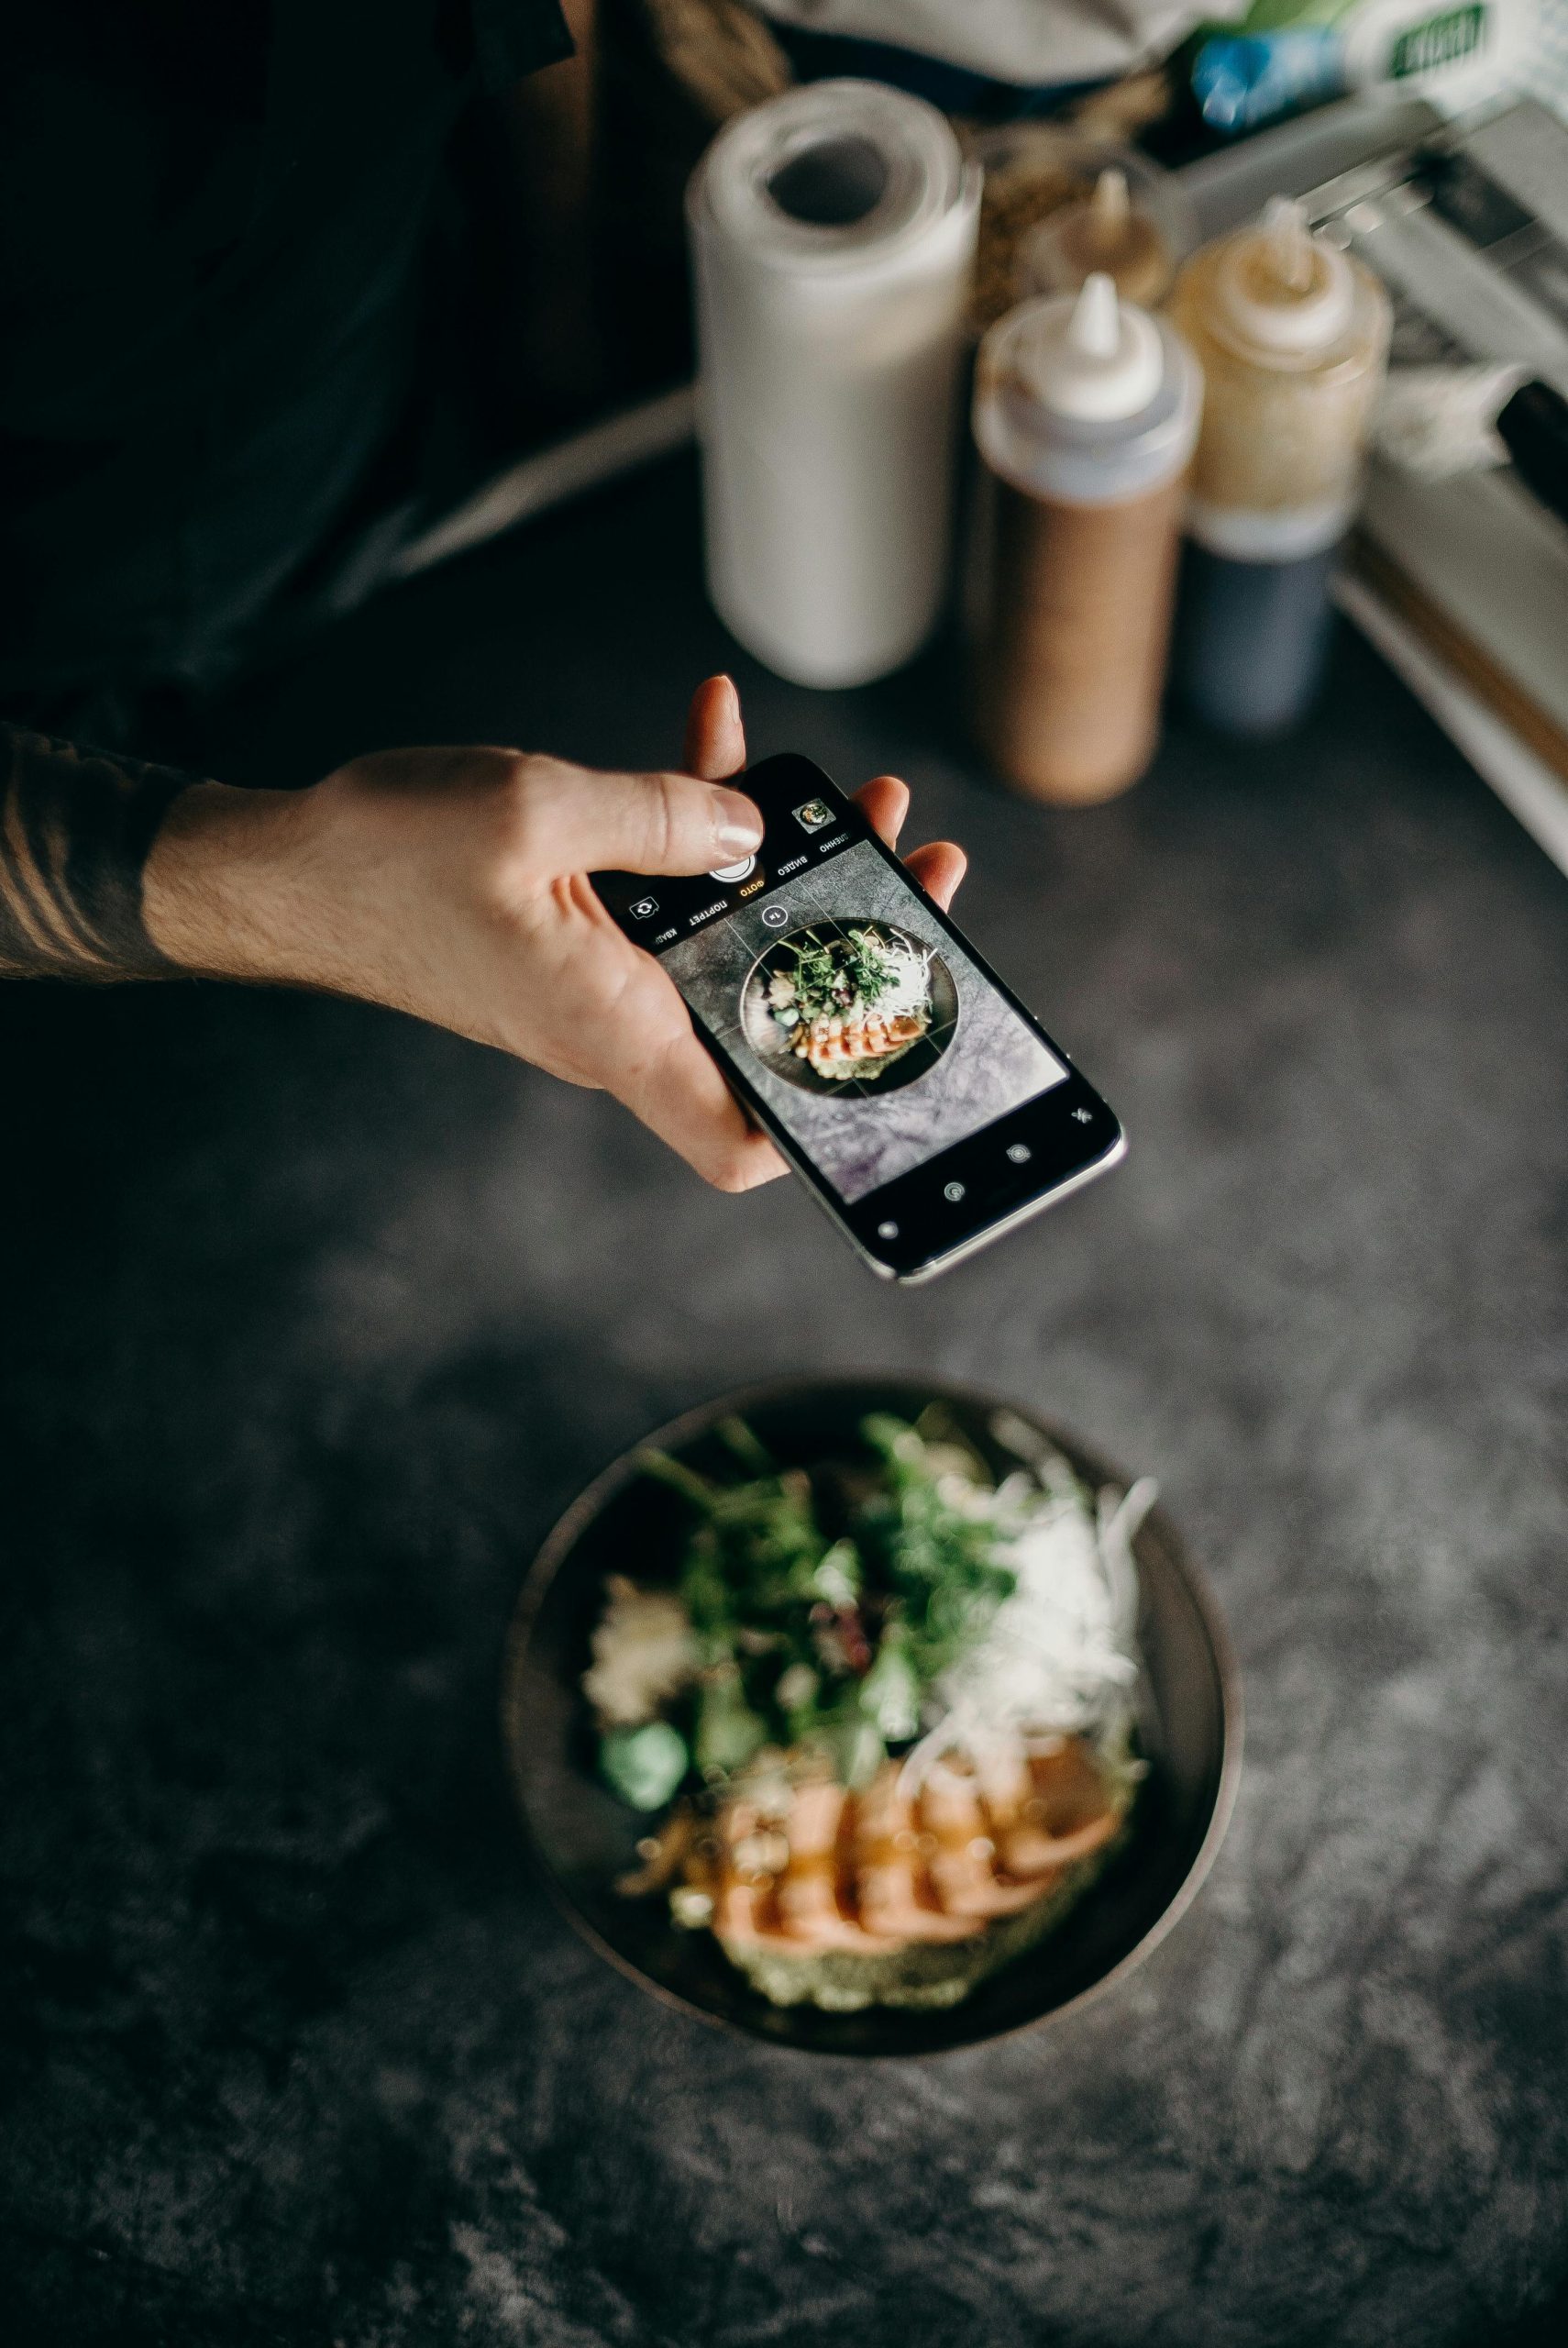
- Include hands: A hand holding a spoon or arranging garnish makes the image feel personal and inviting.
- Highlight ingredients: Place fresh produce or spices around the dish to emphasize freshness and flavor.
Storytelling creates a connection with your readers and makes your content more shareable.
Food photography is an art that improves with practice. By focusing on lighting, styling, composition, editing, and storytelling, you can create stunning images that elevate your food blog. Start experimenting with these tips, and watch your photography—and your audience—grow. Happy shooting!